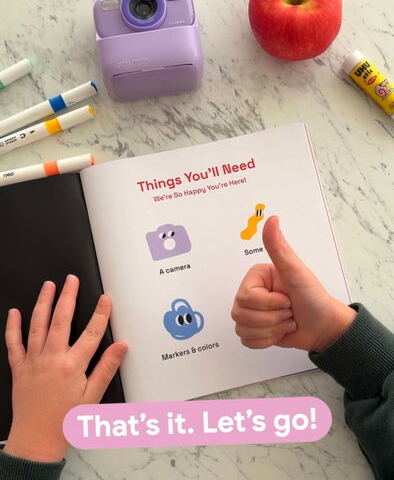
Good news first: you probably own almost everything already. To start a photo adventure with your kid you need a camera, a glue stick, a few markers, a snack and a book with room for the prints. That’s it. No studio, no fancy gear, no rainy-day lesson plan.
Key takeaways
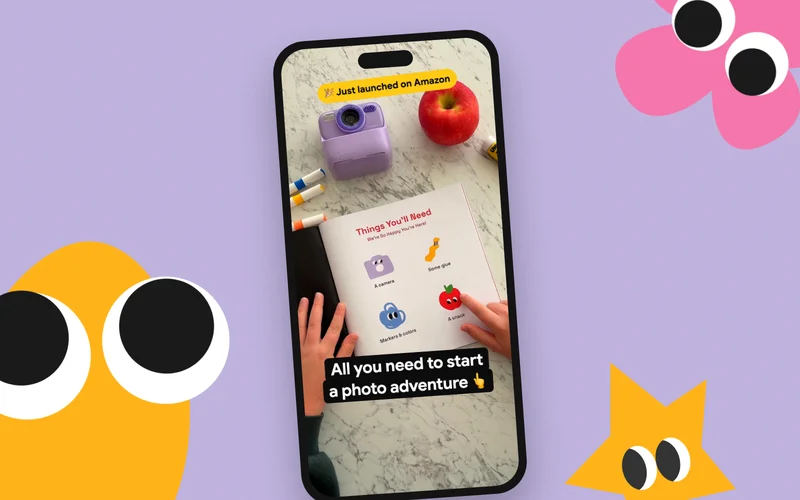
- You only need a camera, a glue stick, markers, a snack and a book with room for the prints.
- Any camera works: instant film, a kids’ thermal-print camera, a pocket printer or printed phone photos.
- Start with one page and one photo. Short, fun sessions beat long ones.
Here’s our whole setup, start to finish, in about eight seconds.
The short list
1. A camera (any camera)
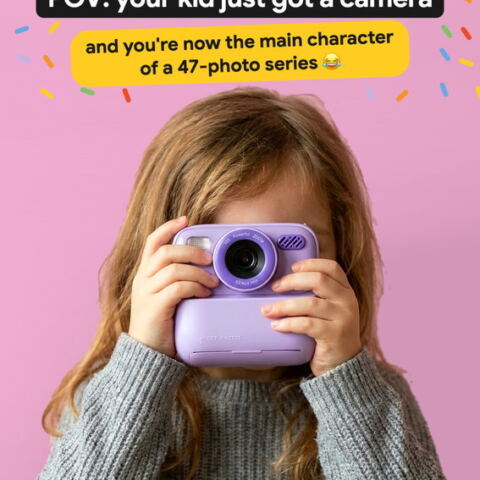
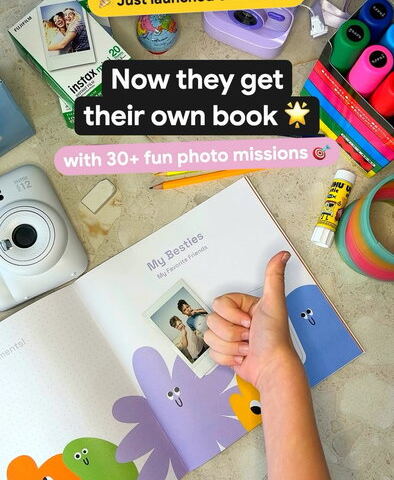
An instant camera like a Fujifilm Instax Mini, a kids’ camera that prints on thermal paper, a pocket printer that makes sticker prints from a phone, or just your phone and a quick trip to print photos at home. All of them work. If you’re still deciding, our guide to cameras for kids walks through the pros and cons of each one.
One honest tip: a camera that prints right away is the magic part for most kids. Seeing the photo come out of the camera is half the fun.
2. Some glue
A regular glue stick is perfect. It’s forgiving, it doesn’t wrinkle the page and little hands can handle it. Zink prints already have a sticky back, so for those you just peel and press.
3. Markers and colors
Every photo gets a caption, a doodle or both. Felt-tip markers are the favorite here. Younger kids can draw instead of writing, or tell you the story while you write it down for them.
4. A snack
Non-negotiable. A focused photographer is a fed photographer. (Bonus: an apple makes a surprisingly good model for the first photo.)
5. A place for the photos to live
This is the part most families skip, and it’s why so many prints end up in a drawer. A book with frames and missions gives every photo a home and gives your kid a reason to take the next one.
Nice to have, not need to have
- Washi tape for photos that need a little extra hold or a fun border.
- A small box or envelope for prints waiting for their page.
- A spare roll of film or paper, because the best moment always shows up right after the last shot.
- A clear corner of the table where the book can stay open for a day or two.
How the first page goes
Pick one page, take one photo, stick it in. That’s a whole session. Here’s what it looks like in real life: open the book, glue the back of the print, press it into the frame and admire the result.
A few things that help the first time:
- Start with “This Is Me!” A selfie or a photo of them holding the camera is the easiest warm-up.
- Keep it short. Ten or fifteen minutes is plenty. Stop while it’s still fun and they’ll ask for more.
- Let them choose. The angle, the subject, the caption. It’s their book.
- Don’t fix the photos. Blurry, crooked, half a face: keep it. The best photos aren’t perfect. They’re theirs.
For ages 4–6, sit together and do it as a team. Kids 7 and up usually take it from here on their own. More ideas for pacing and captions are in how to get the most out of Happic.
Out of ideas? Try a mission
Once the first page is done, the questions start: what do I take a photo of next? Missions are the answer. Silly faces, best friends, a favorite snack, a cool collection, the dog (forty times). If you want a quick list to start with, try our screen-free photo challenges for this weekend.
Come say hi on Instagram
We’ve started sharing real pages, little behind-the-scenes moments and new photo missions on Instagram. If your kid makes a page they’re proud of, share it and tag @happic.club. We love seeing the world through their eyes.
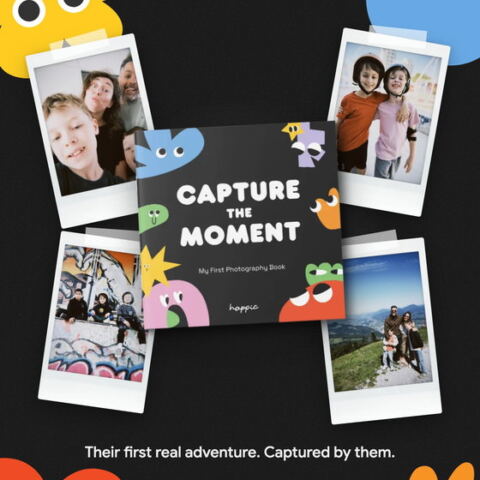
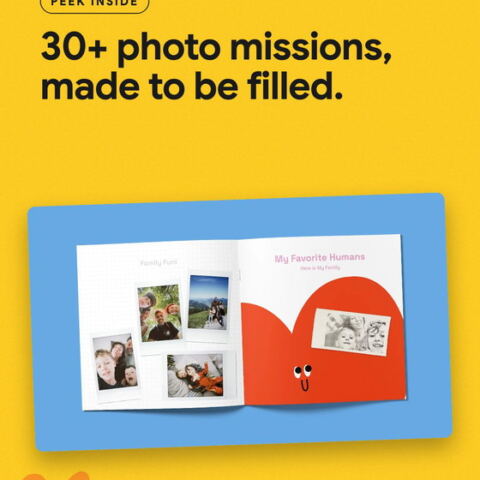
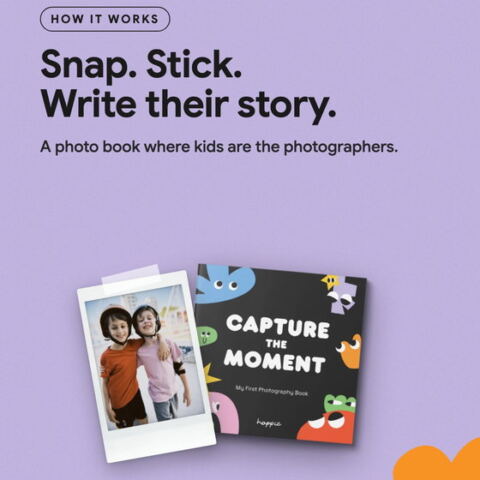
And if you’re ready to start, Happic “Capture the Moment” has 30+ photo missions and a frame for every print. Grab a glue stick, a snack and a camera, and let them take it from there.